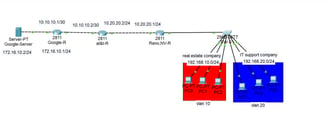
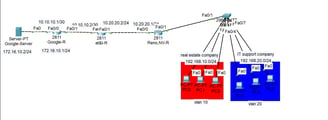
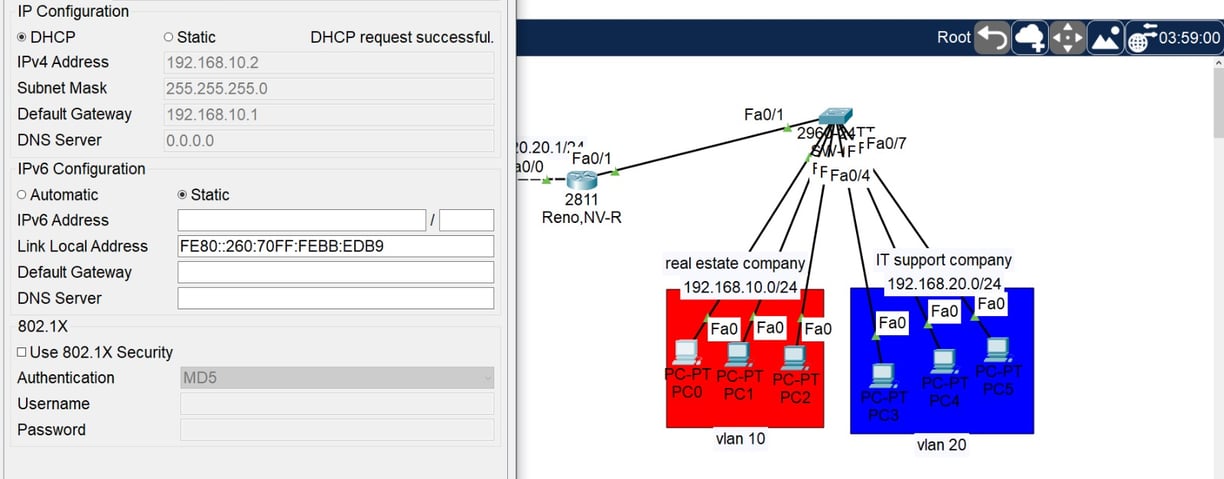
CCNA-project-DHCP Server and Remote Access
Join Hussien almelhem in this CCNA project where we dive into the world of network management! Discover the essentials of configuring a DHCP Server for dynamic IP address allocation and secure remote access using SSH. Learn how to streamline IP address management and fortify your network security. Let's simplify network administration together. CCNA ,NetworkManagement ,DHCP and SSH
9/15/20233 min read

Simplifying Network Management: A Guide by Hussien Almelhem
As a network administrator, I understand the critical importance of efficient IP address management, secure remote access, and robust network security. In this article, I'll walk you through the essential steps to define DHCP (Dynamic Host Configuration Protocol), establish secure remote access, and configure SSH (Secure Shell) for enhanced network administration.
Defining DHCP: Simplifying IP Address Management
Step 1: Access the Network Device
The first step in defining DHCP is accessing the network device, typically a router or a server, with administrative privileges. This allows you to make configuration changes.
Step 2: Configure DHCP Parameters
```shell
enable
configure terminal
```
Once inside the configuration mode, you can proceed to define the DHCP parameters:
Step 3: Define a DHCP Pool
```shell
ip dhcp pool my-pool
```
Creating a DHCP pool is essential. It allows you to specify the network address range, lease duration, and other configuration settings for DHCP clients.
Step 4: Set the Network Range and Subnet Mask
```shell
network 192.168.1.0 255.255.255.0
```
In this step, specify the network address range and subnet mask that DHCP will manage.
Step 5: Set the Default Router (Gateway)
```shell
default-router 192.168.1.1
```
Specify the default router (gateway) that clients should use to access the wider network or the internet.
Step 6: Define DNS Servers
```shell
dns-server 8.8.8.8
```
Provide DNS server addresses so that DHCP clients can resolve domain names to IP addresses.
Step 7: Exit and Save Configuration
```shell
end
write memory
```
Exit the configuration mode and save your DHCP configuration changes. Your DHCP server is now defined and ready to dynamically allocate IP addresses to devices on the network.
## Establishing Secure Remote Access
Step 1: Generate SSH Keys
```shell
enable
configure terminal
crypto key generate rsa modulus 2048
```
To ensure secure remote access, start by generating SSH keys. These cryptographic keys are crucial for secure authentication.
Step 2: Configure SSH Access
```shell
line vty 0 4
transport input ssh
login local
```
Specify which virtual terminal lines (vty) should allow SSH access. Enabling local login ensures that users must authenticate with their credentials.
Step 3: Create SSH User Accounts
```shell
username myuser privilege 15 secret mypassword
```
Create SSH user accounts with the necessary privileges, and set a secure password.
Step 4: Set SSH Version and Access Control
```shell
ip ssh version 2
```
Use SSH version 2 for enhanced security. Implement access control measures to restrict SSH access as needed.
Step 5: Exit and Save Configuration
```shell
end
write memory
```
Exit the configuration mode and save your SSH configuration changes. Your network is now configured for secure remote access via SSH.
Conclusion: Empowering Network Administration
Defining DHCP, establishing secure remote access, and configuring SSH are fundamental steps for efficient and secure network management. By following these steps, you can streamline IP address allocation, enhance network security, and simplify remote administration. These measures ensure that your network remains resilient and efficient, ultimately providing a robust foundation for all your networking needs. As a network administrator, I have found these steps to be invaluable in achieving network excellence.
hussein


